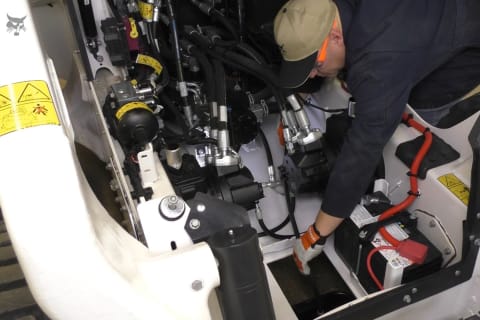
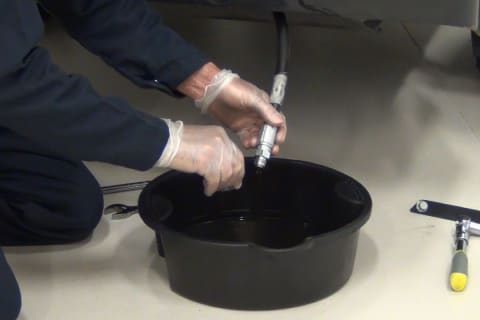
Equipment manufacturers provide recommendations for preventive maintenance practices, but how critical a piece of equipment is to production is a major consideration for determining sampling frequency. High temperatures, dusty conditions, short trips with heavy loads, and excessive idle times can also significantly shorten maintenance intervals.
Fluid analysis is most effective when samples are representative of typical operating conditions. Dirt, system debris, water and light fuels tend to separate from lubricants and coolants when system temperatures cool. For optimum results, consider the following best practices:
- Take samples while systems are operating under normal conditions or immediately after shutdown while they are still at operating temperature.
- Take samples at regularly scheduled intervals.
- Take samples from the same sampling point each time.
Collecting Fuel Samples With a Vacuum Pump
- Measure length or depth of fill port tube, reservoir or dipstick.
- Add 6 inches and mark the measurement on the tubing.
- Cut the tubing 12 inches beyond this mark.
- Insert tubing onto top of vacuum pump and tighten lock ring.
- Remove sample jar lid, attach jar to bottom of vacuum pump and tighten securely.
- Insert tubing into fill port, reservoir or dipstick retaining tube only to the mark on the tubing. To avoid drawing settled debris into the sample, do not allow contact between tubing and bottom of reservoir.
- Push and pull vacuum pump plunger until sample jar is 3/4 full.
- When sample reaches shoulder of jar, unscrew jar from pump, replace jar lid and tighten securely.
- Unscrew pump locking ring, remove tubing and drain excess oil back into reservoir.
- Discard tubing after each sample to avoid cross contamination.
- Complete sample jar label and affix to sample jar.
Whether you’re a seasoned veteran or a first-time sampler, a well-designed, quality oil analysis program puts you on track for well-managed, cost-effective equipment maintenance.


